CodePush CLI를 사용해 AppCenter 앱 생성하기
- 계정 생성
[AppCenter 홈페이지]에서 계정을 생성하고 로그인 합니다.
- 라이브러리 설치
$ npm install -g code-push-cli
$ yarn global add code-push-cli
- 계정 관리하기
$ code-push register
# $ code-push login
# $ code-push logout
- 앱 생성하기
Organization을 생성해서 앱을 관리할 경우
<appName>부분을<OrganizationName>/<appName>으로 해서 진행해주시면 됩니다.
$ code-push app add <appName> <os> <platform>
$ code-push app add Metime/android android react-native
Successfully added the "Metime/android" app, along with the following default deployments:
┌────────────┬────────────────────────────────────────┐
│ Name       │ Deployment Key                         │
├────────────┼────────────────────────────────────────┤
│ Production │ ************************************** │
├────────────┼────────────────────────────────────────┤
│ Staging    │ ************************************** │
└────────────┴────────────────────────────────────────┘
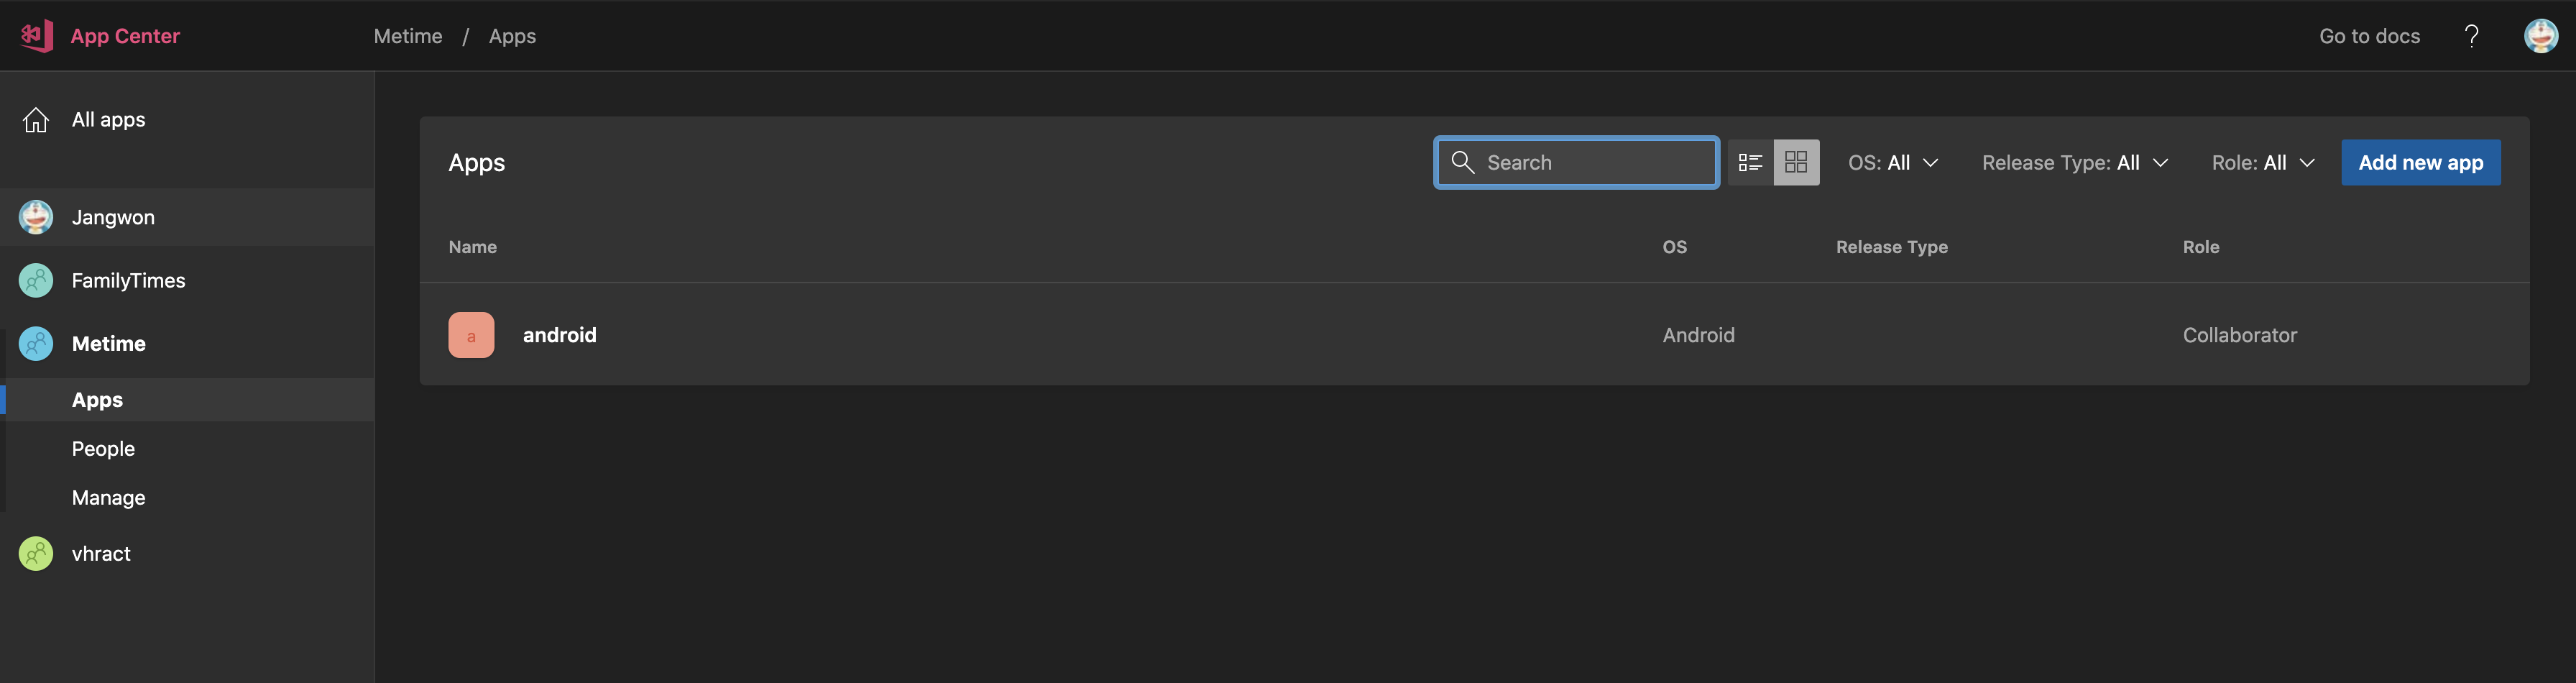
앱이 생성되면 위와 같이 AppCenter 홈페이지에서 확인할 수 있습니다!
Organization은 기존에 생성한 상태에서 앱 생성이 가능하니, 사이트에서 Organization을 생성한 다음 앱을 생성해주세요.
CodePush 세팅하기
- 라이브러리 설치
$ npm install --save react-native-code-push
$ yarn add react-native-code-push
android/settings.gradle파일 세팅
settings.gradle파일 최하단에 아래와 같이 입력해주세요.
...
// include ':app'
include ':app', ':react-native-code-push'
project(':react-native-code-push').projectDir = new File(rootProject.projectDir, '../node_modules/react-native-code-push/android/app')
android/app/build.gradle파일 세팅
...
apply from: "../../node_modules/react-native/react.gradle"
apply from: "../../node_modules/react-native-code-push/android/codepush.gradle"
안드로이드 스튜디오를 통해 Build를 했을 때
Cannot add task ‘bundleDebugJsAndAssets’ as a task with that name already exists.에러가 발생하면 apply from: “../../node_modules/react-native/react.gradle” 이 부분은 제거해주세요.
android/app/src/.../MainApplication.java파일 세팅
...
// 1. CodePush 패키지를 Import 해주세요.
import com.microsoft.codepush.react.CodePush;

public class MainApplication extends Application implements ReactApplication {

    private final ReactNativeHost mReactNativeHost = new ReactNativeHost(this) {
        ...

        // 2. getJSBundleFile을 Override 해주세요.
        @Override
        protected String getJSBundleFile() {
            return CodePush.getJSBundleFile();
        }
    };
}
android/app/src/main/res/values/strings.xml파일 세팅
여기서
DeploymentKey는 앞서code-push-cli를 사용해서 앱을 생성할 때 함께 생성된Production또는Staging키를 의미합니다.
...
	<string moduleConfig="true" name="CodePushDeploymentKey">DeploymentKey</string>
</resources>
- 배포하기
$ code-push release-react <appName> android -d Staging [or Production]
$ code-push release-react Metime/android android -d Staging
참고
<!– ## AppCenter 세팅하기
- 라이브러리 설치하기
$ npm install appcenter appcenter-analytics appcenter-crashes --save-exact
$ yarn add appcenter appcenter-analytics appcenter-crashes --exact
android/app/src/main/assets/appcenter-config.json파일 생성
위에서 생성한 앱을 누르면 아래 이미지 처럼 Overview에서
APP_SECRET_VALUE를 찾을 수 있습니다.
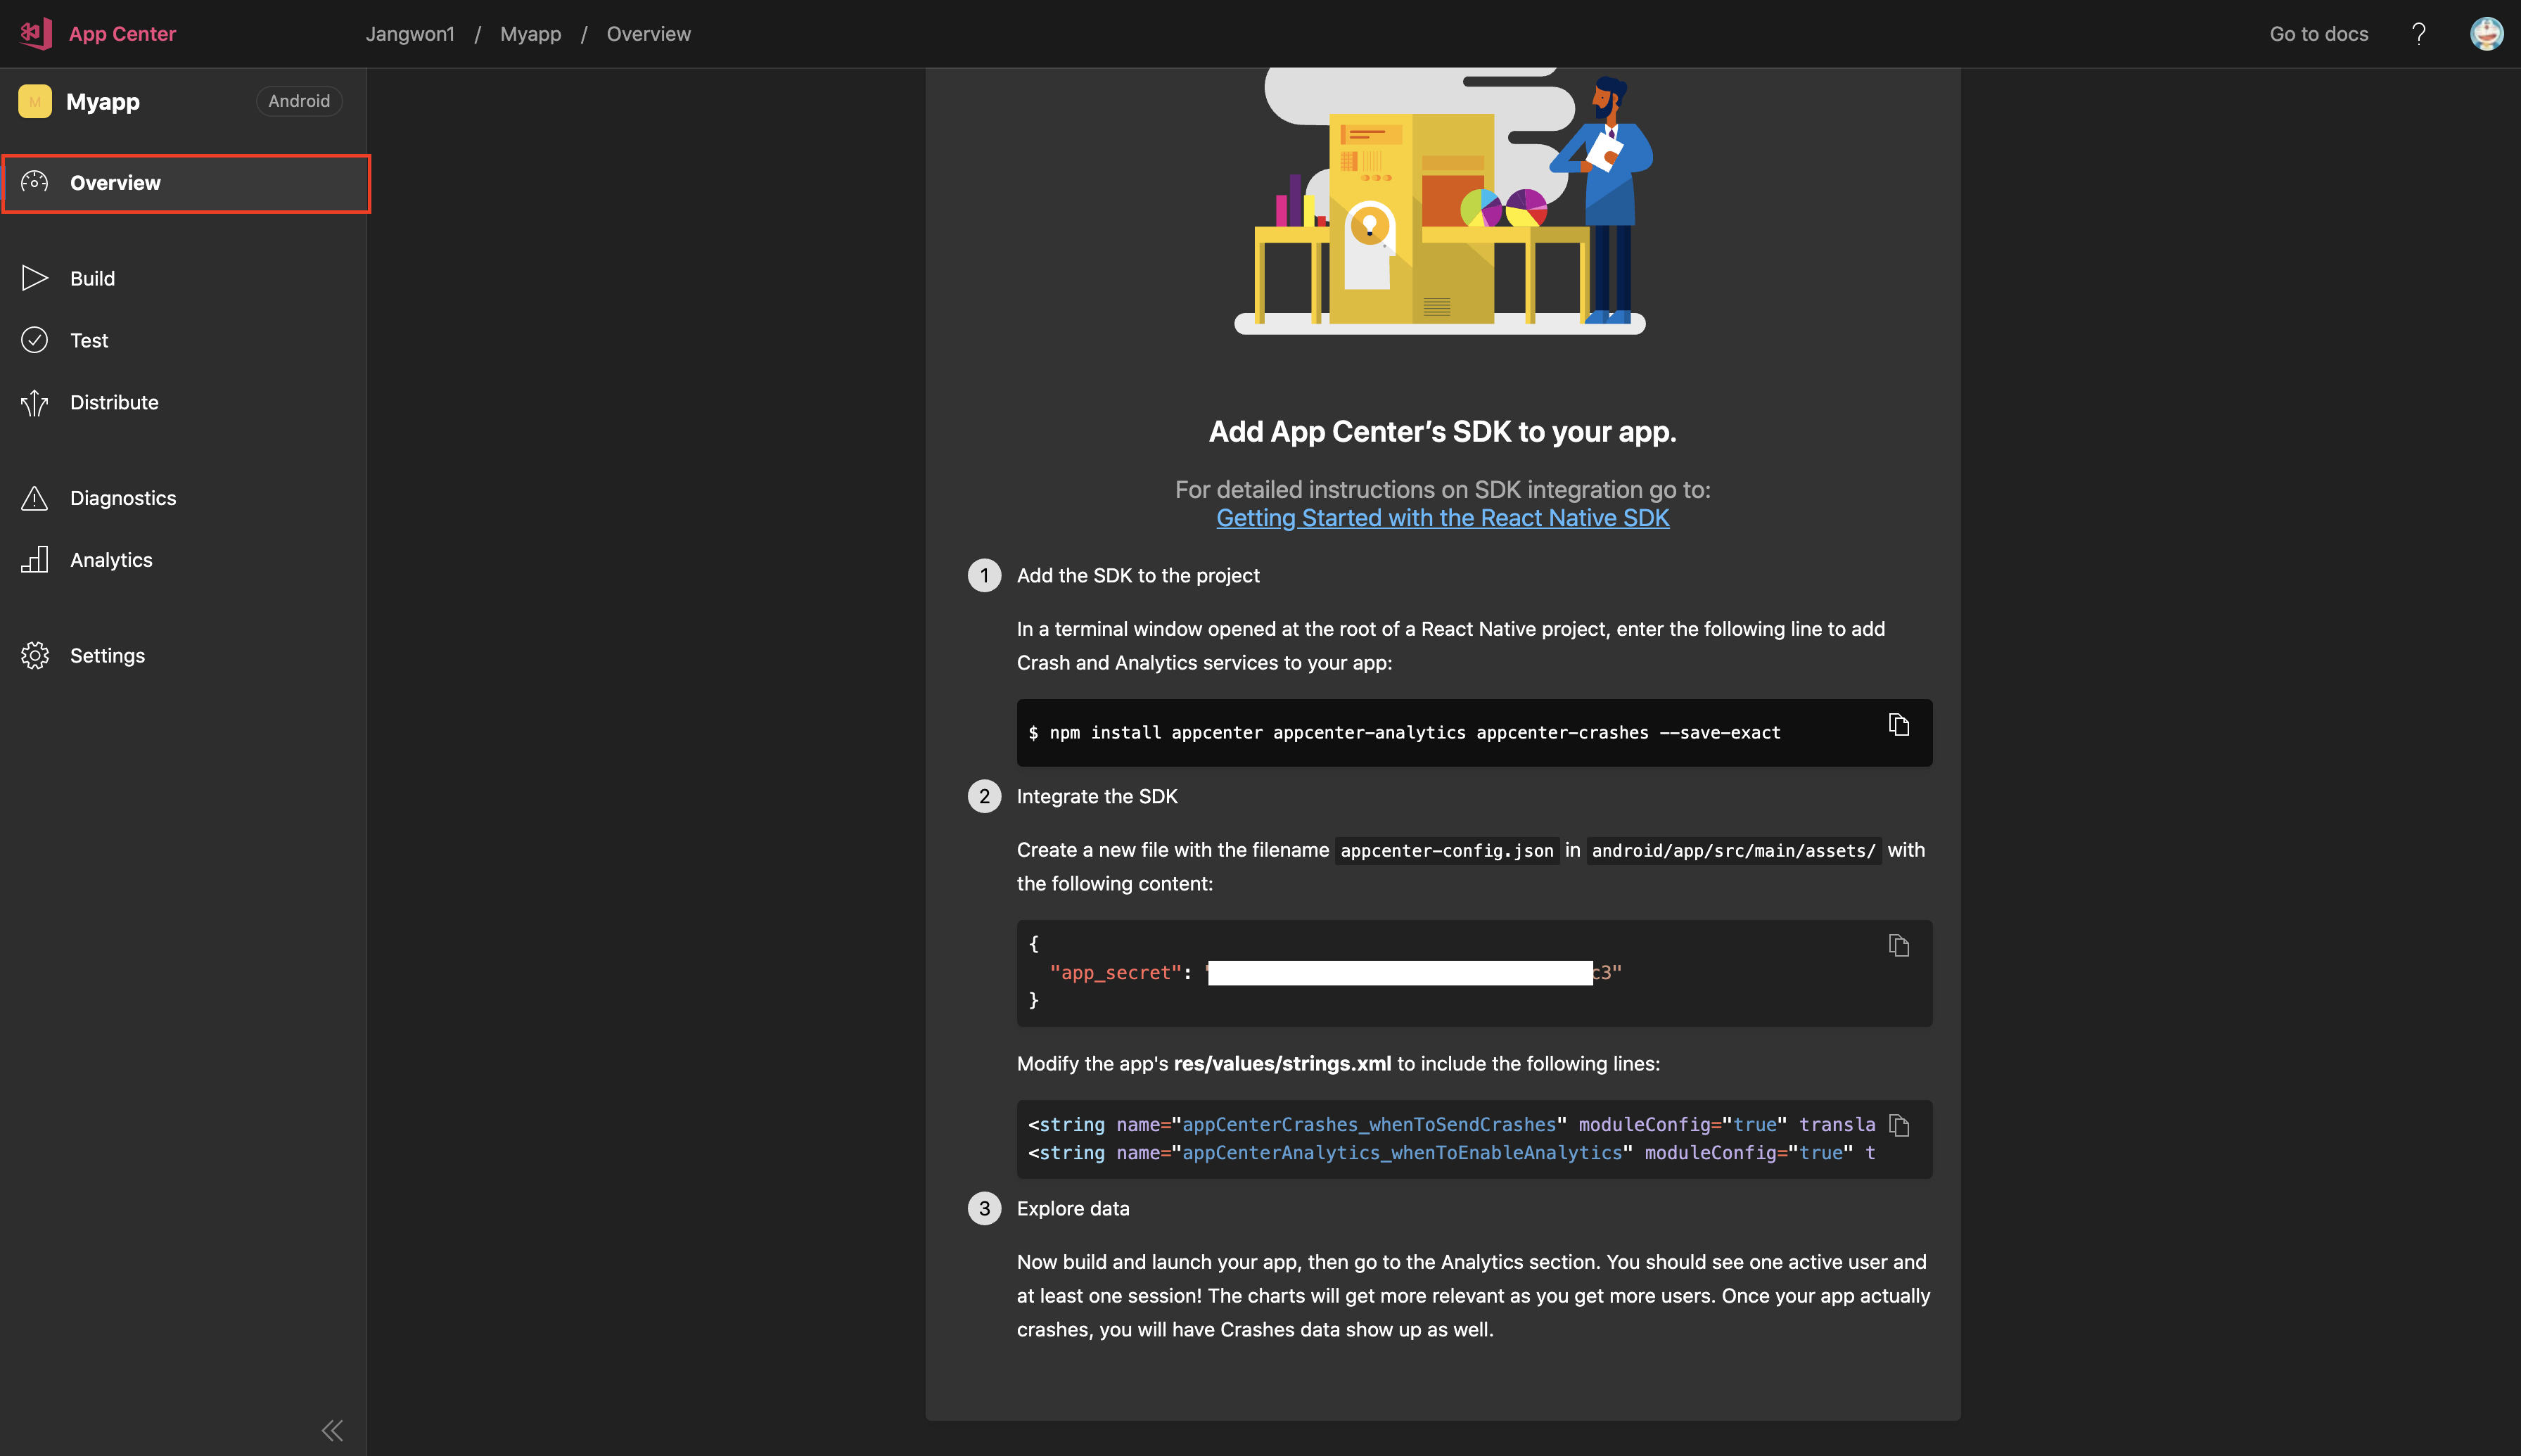
{
    "app_secret": "{APP_SECRET_VALUE}"
}
android/app/src/main/res/values/strings.xml파일 세팅
...
	<string name="appCenterCrashes_whenToSendCrashes" moduleConfig="true" translatable="false">DO_NOT_ASK_JAVASCRIPT</string>
	<string name="appCenterAnalytics_whenToEnableAnalytics" moduleConfig="true" translatable="false">ALWAYS_SEND</string>
</resources>
AppCenter를 사용해 CodePush 배포하기
- 라이브러리 설치
$ npm install -g appcenter-cli
$ yarn global add appcenter-cli
- AppCenter 로그인
$ appcenter login
- 배포
$ appcenter codepush release-react -a Metime/android -d Staging [or Production]