Overview
개발 환경(윈도우)에서 Celery와 RabbitMQ를 사용해 스케줄러를 구현 후, Ubuntu 환경에서 서버 세팅하는 과정까지 진행하도록 하겠습니다.
목차
우분투 환경에 배포하기
우분투에 Django가 배포되었다는 가정하에 진행하며, 만약 안되어있을시 이 곳을 확인할수 있습니다.
RabbitMQ 설치
RabbitMQ 서버 설치
$ sudo apt-get install rabbitmq-server
Management Plugin 활성화
$ sudo rabbitmq-plugins enable rabbitmq_management
$ sudo service rabbitmq-server restart
계정 추가하기
$ sudo rabbitmqctl add_user wkddnjset [PASSWORD]
$ sudo rabbitmqctl set_user_tags wkddnjset administrator
# $ sudo rabbitmqctl set_permissions -p / wkddnjset ".*" ".*" ".*"
http://[Your-IP]:15672/에서 RabbitMQ가 작동하는 것을 확인 할 수 있다.
guest/guest 계정은 로컬에서만 적용가능하다. 계정을 추가하는 이유는 정상작동을 확인하기 위함이다. Django 세팅과 전혀 상관없다.
Celery Daemon으로 실행하기
실행 파일 생성
/etc/init.d/celeryd파일 생성- celery repo에 내용을 복붙한다.
$ sudo vi /etc/init.d/celeryd
vi로 파일 생성 후 celery repo 코드를 복붙한다.
Config 파일 생성
/etc/default/celeryd파일 생성
$ sudo vi /etc/default/celeryd
CELERY_BIN="/CheckYourSite/CheckYourSite/bin/celery"

# App instance to use
CELERY_APP="CheckYourServer"

# Where to chdir at start.
CELERYD_CHDIR="/CheckYourSite/CheckYourSite"

# Extra arguments to celeryd
CELERYD_OPTS="--time-limit=300 --concurrency=8"

# Name of the celery config module.
CELERY_CONFIG_MODULE="CheckYourServer.settings"

# %n will be replaced with the nodename.
CELERYD_LOG_FILE="/CheckYourSite/CheckYourSite/log/celery-%n.log"
CELERYD_PID_FILE="/CheckYourSite/CheckYourSite/log/celery-run-%n.log"

# Workers should run as an unprivileged user.
CELERYD_USER="Jangwon"
CELERYD_GROUP="CheckYourSite"

# Name of the projects settings module.
export DJANGO_SETTINGS_MODULE="CheckYourServer.settings"
권한설정
$ sudo chmod 755 /etc/init.d/celeryd
$ sudo chown root:root /etc/init.d/celeryd
실행하기
$ sudo /etc/init.d/celeryd start
# $ sudo /etc/init.d/celeryd restart
celery init v10.1.
Using config script: /etc/default/celeryd
celery multi v3.1.24 (Cipater)
> Starting nodes...
        > celery@ip-172-31-xx-xx: OK
Celery beat Daemon으로 실행하기
실행파일 생성
/etc/init.d/celerybeat파일 생성- celery repo에 내용을 복붙한다.
sudo vi /etc/init.d/celerybeat
Config 파일 생성
Celeryd Config 파일을 생성했기 때문에 따로 Celery Beat Config 파일을 만들필요없다. 혹시 두개의 모듈이 다른 세팅에서 돌아야 한다면, Docs를 참고해서 수정하기 바란다.
권한설정
$ sudo chmod 755 /etc/init.d/celeryd
$ sudo chown root:root /etc/init.d/celeryd
실행하기
$ sudo /etc/init.d/celerybeat start
celery init v10.1.
Using configuration: /etc/default/celeryd
Stopping celerybeat... OK
결과
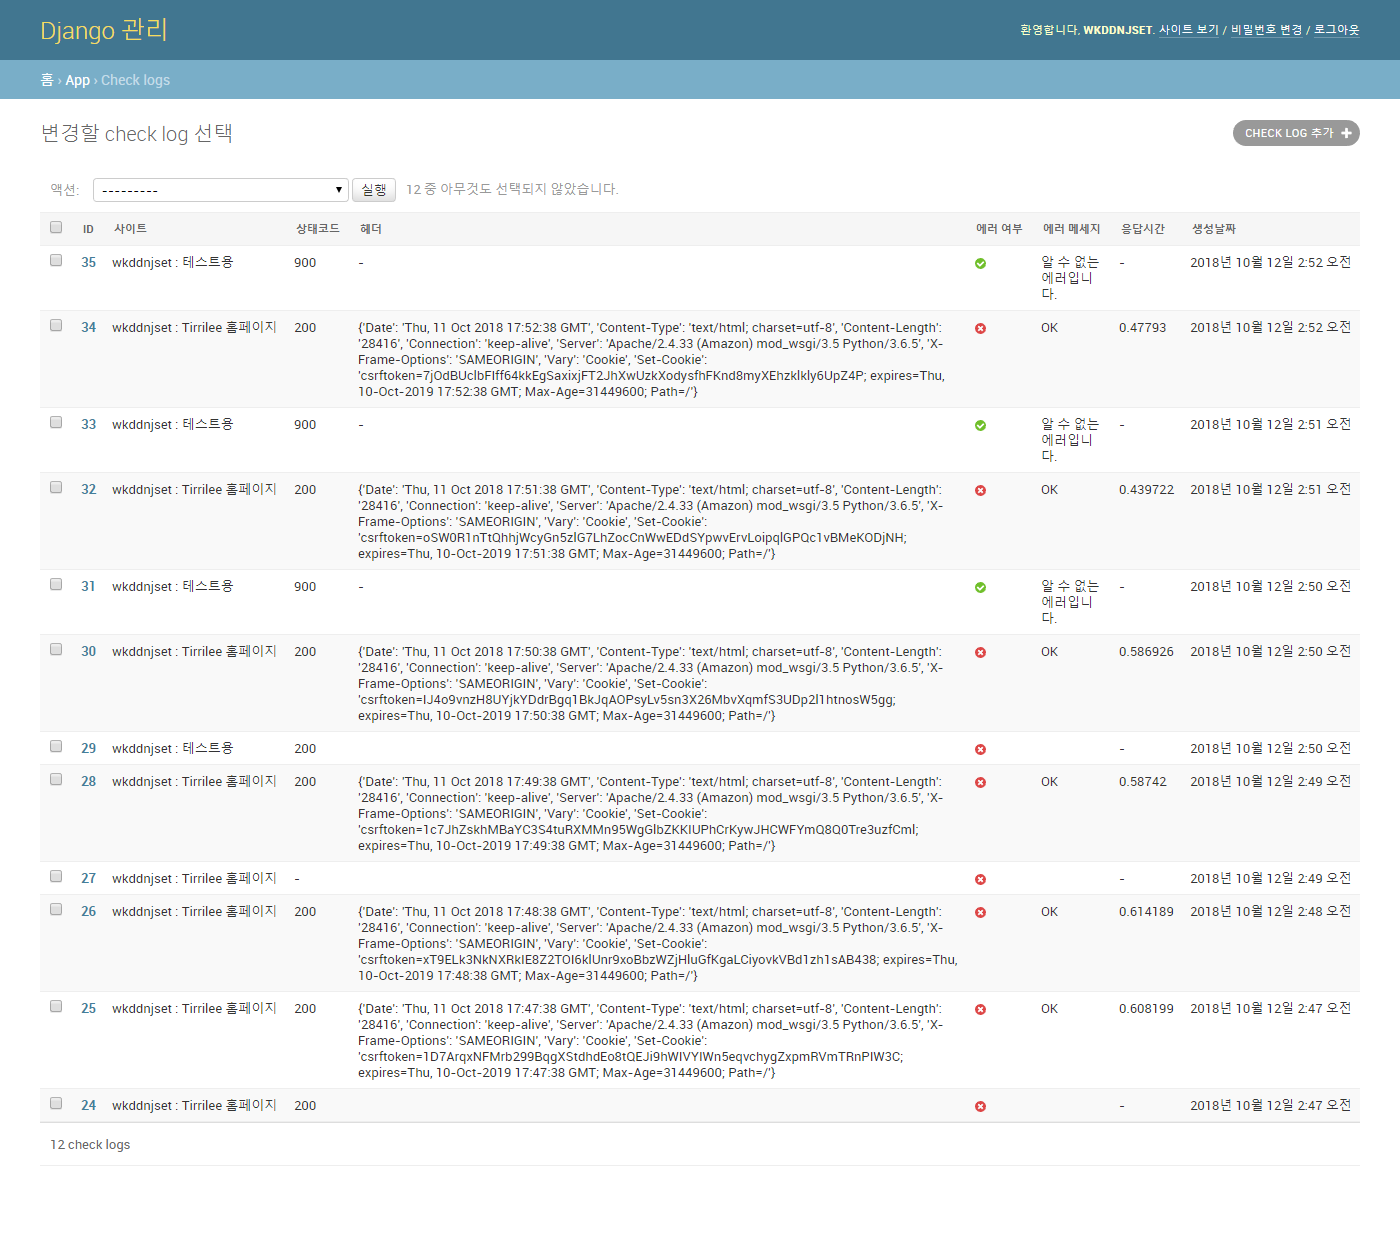
개인적으로 Celery Beat가 동작하면서, CheckLog라는 모델에 Create 되도록 설정해놨다. 아래 사진에 생성날짜를 확인해보면 1분 간격으로 Celery Beat가 동작하는 것을 확인 할 수 있다.
